
Gradient tool
|
 |
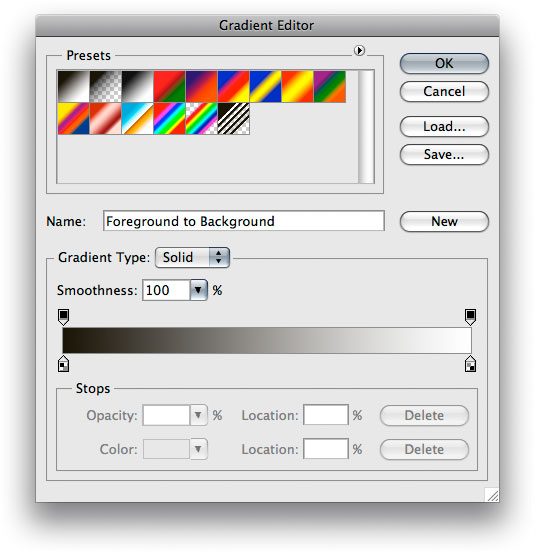 |
Figure 1 To create a new custom gradient, click on the gradient ramp in the gradient options panel. This opens the Gradient Editor dialog box shown here.
 |
 |
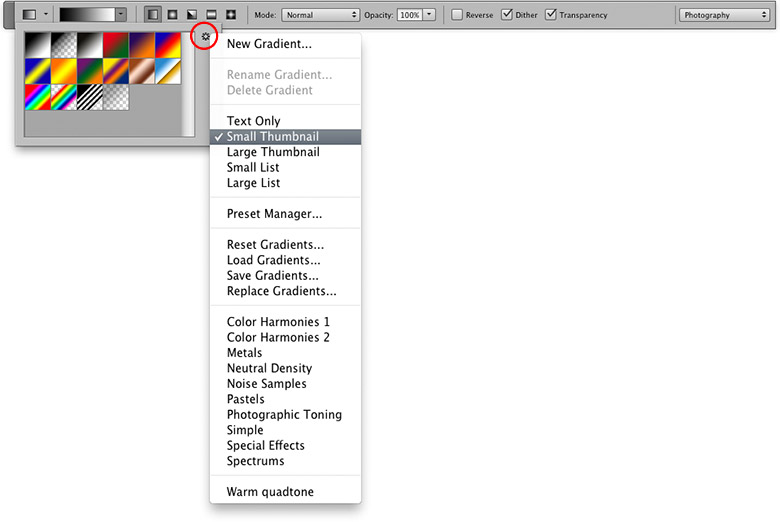
Figure 2 New gradients can also be selected by mousing down on the gradient ramp in the Options bar and these can be edited (see steps below). Once you have selected a gradient setting this can then be applied using one of the five gradient tool modes: Linear, Radial, Angle, Reflected or Diamond (see Figure 3). The combination of a gradient setting and gradient mode can then be saved as a gradient tool preset by mousing down on the triangle button next to the tool icon shown here and choosing New Gradient... This allows you to name the new gradient and add it as a new custom preset to the list.
Gradient tool modes
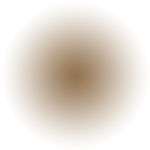
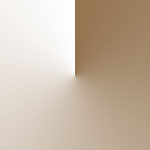
The gradient tool has five operating modes: linear, radial, angle, reflected and diamond. In Figure 3 below you can see examples of how each of these modes will affect the way a gradient will fill an image.
 |
 |
 |
 |
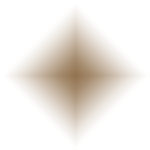 |
Figure 3 The five gradient modes.
Creating a custom gradient setting
These following steps show how you can use the Gradient Editor dialog to create a new gradient setting or customize an existing one.
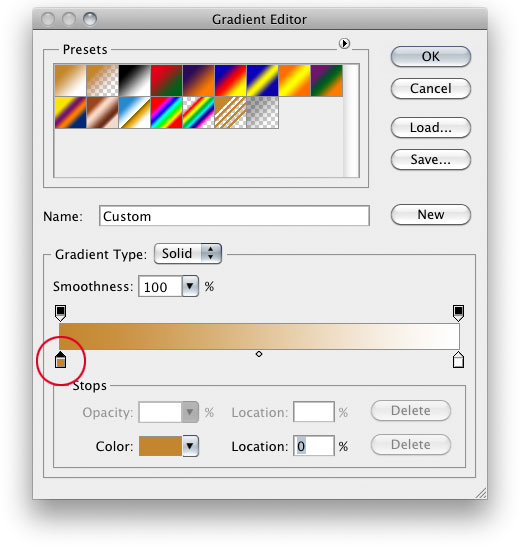 |
1 Here, I clicked on the lower left-most stop to select it and then double-clicked it or click once on the color box. This opened the Color Picker, where I could choose a new color for the start of the gradient. In this example, I picked an orange color.
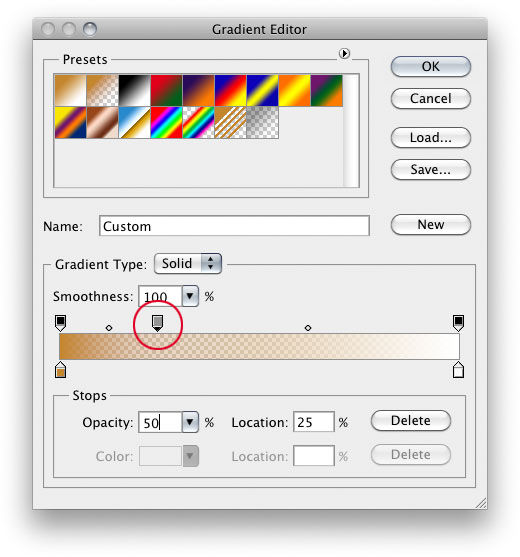 |
2 By clicking just above the gradient bar ramp, I was able to add a new transparency stop. Notice how the lower part of the dialog displays the opacity and positioning of the new stop. You can alter the opacity of the gradient at this ‘stop’ point to, say, 50%. And you can position this transparency stop anywhere along the gradient scale and drag the diamond-shaped midpoints to adjust the midpoint axis.
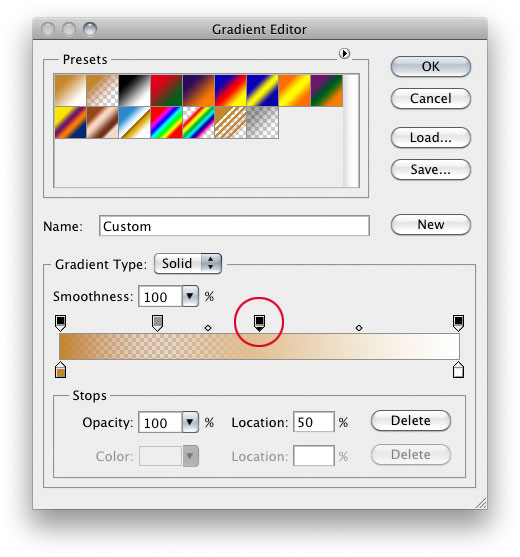 |
3 I then added a second transparency stop on the top part of the gradient bar ramp, but this time I set the opacity to 100%, which prevented the transparency from fading off to the right from this point onwards.
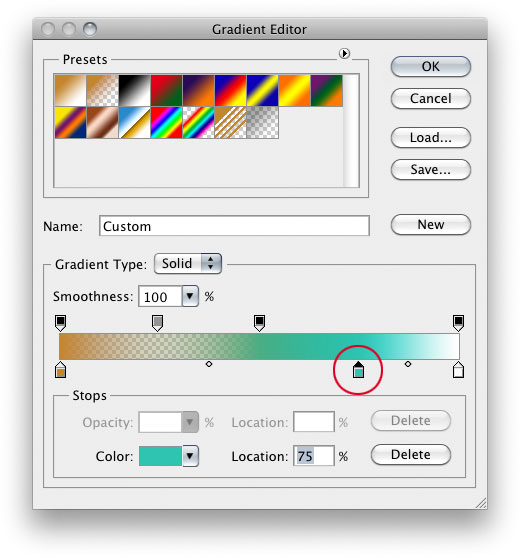 |
4 Finally, I added a new color stop below and introduced a new color by clicking in the Color box and choosing a green/cyan color this time. When the gradient editing was complete all I had to do was to click on the New button and give the gradient a name. The new gradient would be saved and added as a new gradient preset.
Noise gradients
The Gradient Editor also has a Noise gradient editing mode which you can select by mousing down on the Gradient Type section and selecting ‘Noise’. Noise gradients are based on a random distribution of colors between a specified color range, but note that any settings made in the Solid Gradient Editor will have no bearing on the appearance of the noise gradient.
The Roughness amount determines the smoothness of a noise gradient and the Color model settings allow you to edit the range of colors used. One of the best ways to experiment with this feature is to click on the Randomize button and adjust the settings from there. Noise gradient settings can also be saved the same way as you can with solid gradients.
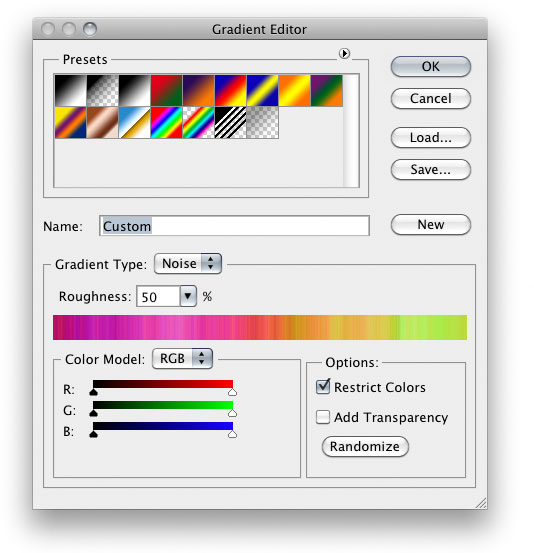 |
1 When you change the Gradient Type to Noise, the smooth gradient ramp will be replaced by a random noise ramp. Clicking on the Randomize button will present you with many interesting random gradient options to choose from.
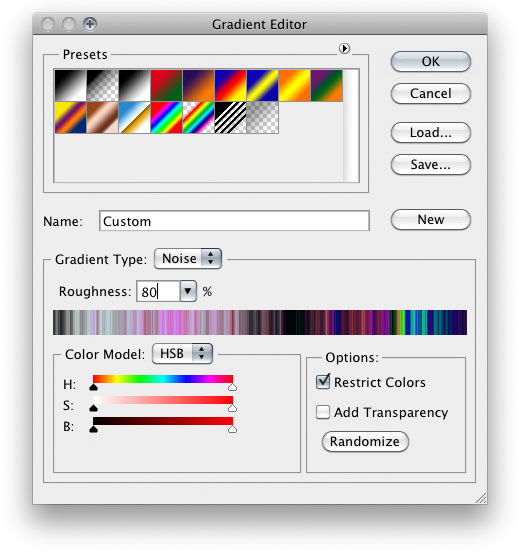 |
2 Of the three Color Models, the HSB is the most useful. You can narrow the range of colors used in the random equation by adjusting the hue sliders. As you can see here, the Roughness can be increased to make the gradient more spiky. The Restrict Colors option prevents the colors from oversaturating and produce a more usable gradient for general CMYK print work.
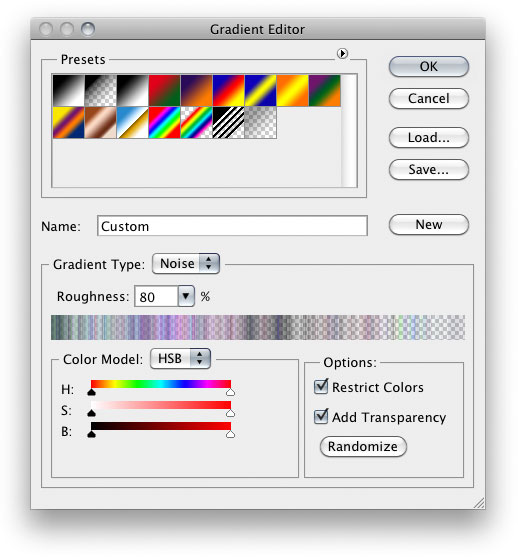 |
3 By reducing the Roughness amount and adjusting the hue and brightness sliders you can produce some very subtle gradients. If you check the Add Transparency box, you can introduce random transparency into the equation as well. The gradient shown here was used to create the radial gradient shown below in Figure 4.
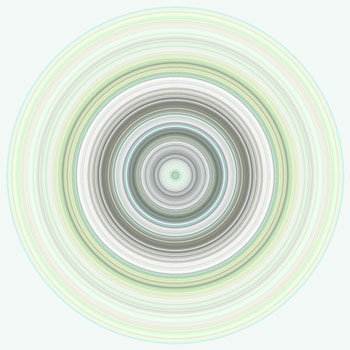 |
Figure 4 Here is an example of a Noise Gradient applied as a radial gradient fill.
